SMTPeter Setup Tutorial
- Ongage OngageConnect
- Pratik Upadhyay
Owned by Ongage OngageConnect
Last updated: Mar 24, 2022 by Pratik Upadhyay
Table of Contents:
How to setup your SMTPeter connection in Ongage
- Use an Ongage Private SMTP connector:

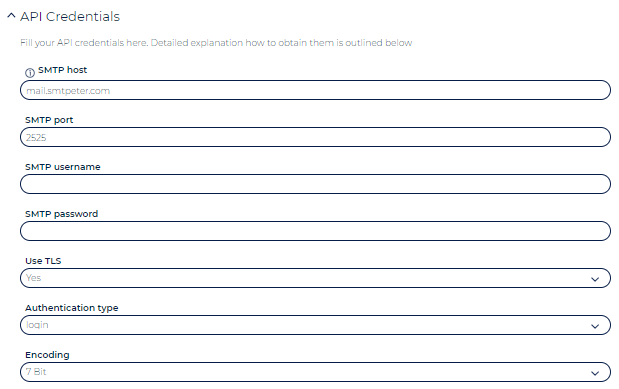
- Go to ESP Setup of that connection and enter the following values below along with the SMTP password and username you got from SMTPeter:
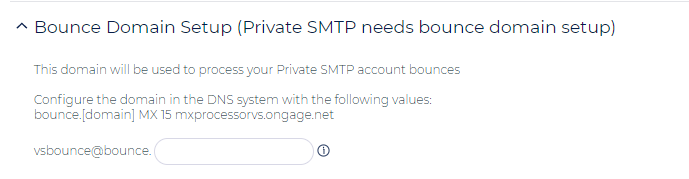
- Setup a bounce domain (the sender domain and bounce domain names you'll get from SMTPeter) and follow the in-page instructions as illustrated below:
- Click on 'Verify Credentials' to verify the configuration.
- And click on 'Save'.
Note: you will need to verify your sending domain within your SMTPeter account, before you'll be able to start sending via this connection. See the following section for more info.
SMTPeter Getting Started and Sender Domain Setup
- See: https://www.smtpeter.com/en/documentation/introduction
- Log into your SMTPeter dashboard and go to the section called sender domains and follow the steps: https://www.smtpeter.com/en/documentation/sender-domains
- In general it is recommended to login into SMTPeter and click on the show checklist, this will guide you through everything necessary to setup SMTPeter.
, multiple selections available,