/
SendGrid Setup Tutorial
SendGrid Setup Tutorial
Table of Contents:
You may want to first review the general Vendor Settings online help page, prior to following this specific vendor tutorial.
How to Setup a SendGrid Connection in Ongage
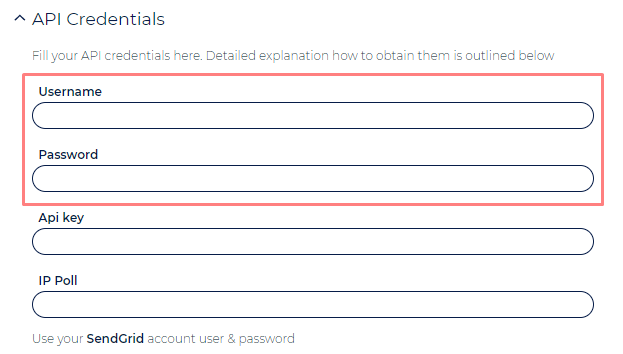
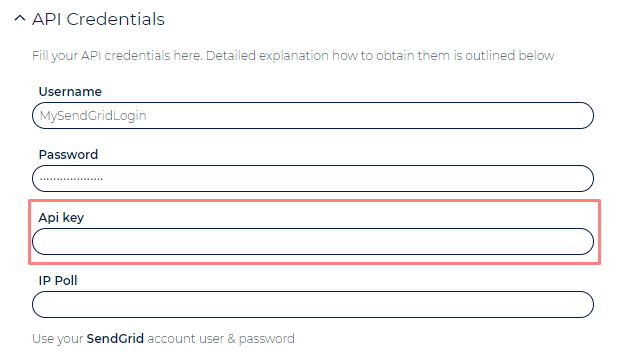
- Go to the ESP Setup page in your Ongage account, of the desired SendGrid connection you'd like to setup, and enter your SendGrid login Username and Password credentials.
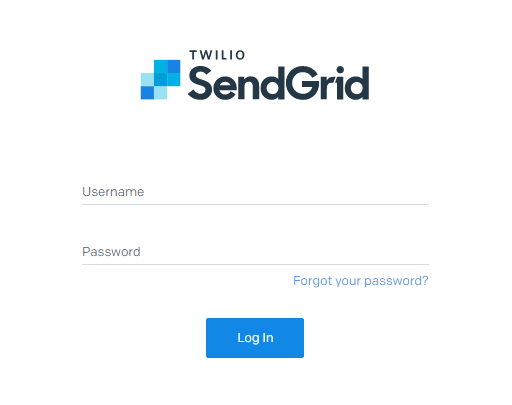
- Go to the SendGrid login page: https://app.sendgrid.com/login and login using your SendGrid Username and Password credentials.
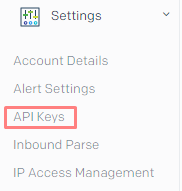
- In your SendGrid account, in the left-hand bar menu, go to Settings → Api Keys.
Choose under Settings the API Keys menu item: - Click on the Create API Key button.
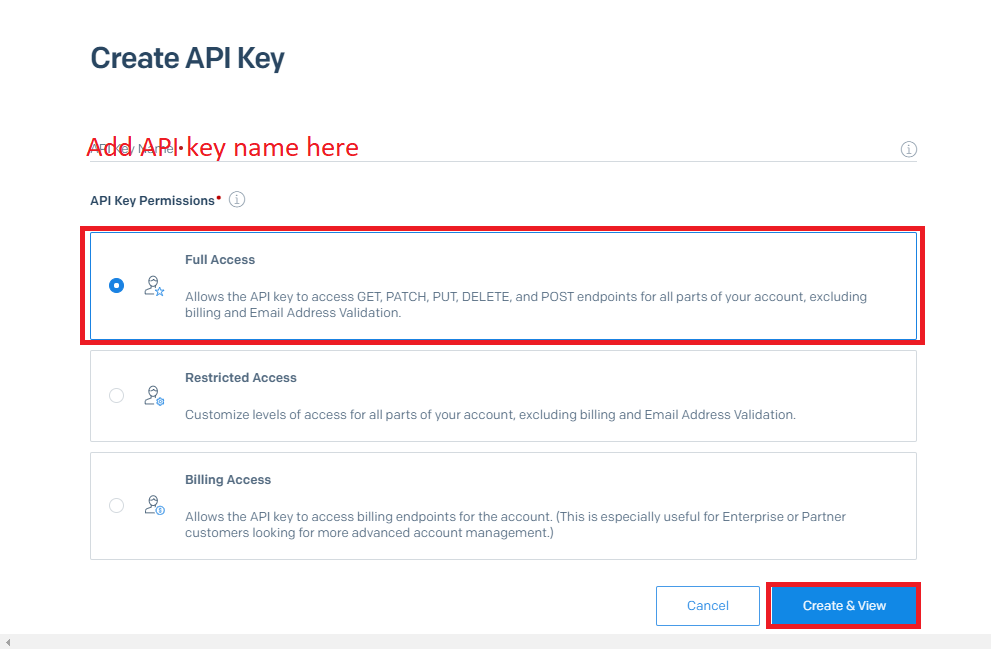
- Add an API Key Name (E.g., Ongage API Key for ECID 12345) and select Full Access permissions.
- After clicking on Create & View you will be able to see the API key only once. Copy the API key.
- Paste the API Key back in the Ongage ESP vendor setup page into the API key input field.
- Click on the Verify Credentials button and click Save.
How to Setup Multiple SendGrid Sub-accounts in Ongage
- Create in Ongage a separate connection for each SendGrid sub-account.
- For each sub-account follow the instructions above.
How to Setup Sendgrid Connection with 2FA (Two Factor Authentication) Enabled
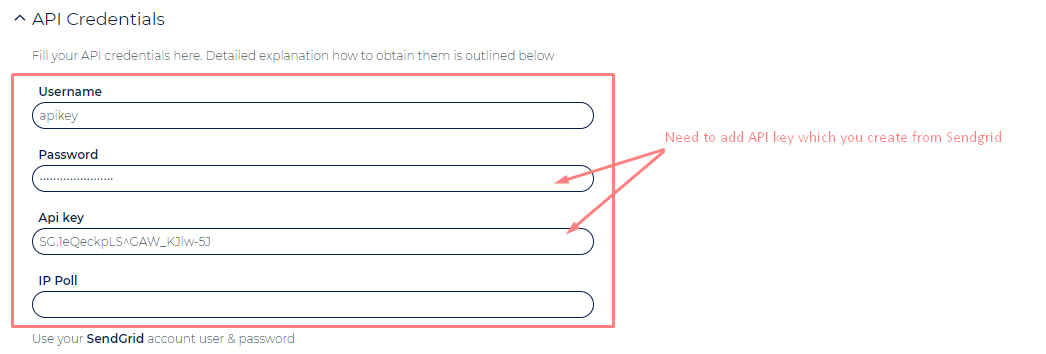
- Get the API Key (New or Existing) from Sendgrid UI.
- Use "apikey" as username in Ongage Connection.
- For Password and API Key fields in Ongage Connection Setup screen, use the same API key you got from Sendgrid UI.
 Note: The above configuration is also applicable If you have enabled IP whitelisting to access your Sendgrid account.
How to Indicate a SendGrid IP Pool in an Onagage SendGrid Connection
![]() Note: this is an optional setting, only if you have and are using SendGrid IP pools.
Note: this is an optional setting, only if you have and are using SendGrid IP pools.
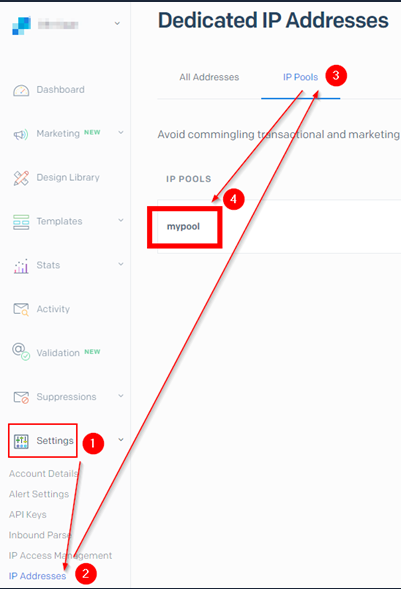
Go into your Sendgrid account, unfold the Settings menu < click the IP Addresses sub-menu < click the IP Pools tab and find the relevant IP pool name
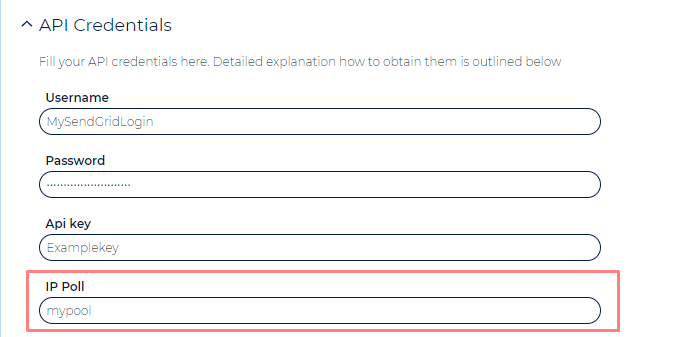
- Enter that name into the IP Pool field in the Ongage SendGrid Edit Connection Screen:
, multiple selections available,
Related content
SMTP.com Setup Tutorial
SMTP.com Setup Tutorial
Read with this
Mailgun Setup Tutorial
Mailgun Setup Tutorial
More like this
SparkPost Setup Tutorial
SparkPost Setup Tutorial
More like this
MessageBird SMS Setup Tutorial
MessageBird SMS Setup Tutorial
More like this
mySMTP Setup Tutorial
mySMTP Setup Tutorial
More like this
Vendor Setup Tutorials
Vendor Setup Tutorials
More like this
