Table of Contents:
See the Fields Setup Section in our Getting Started Guide. |
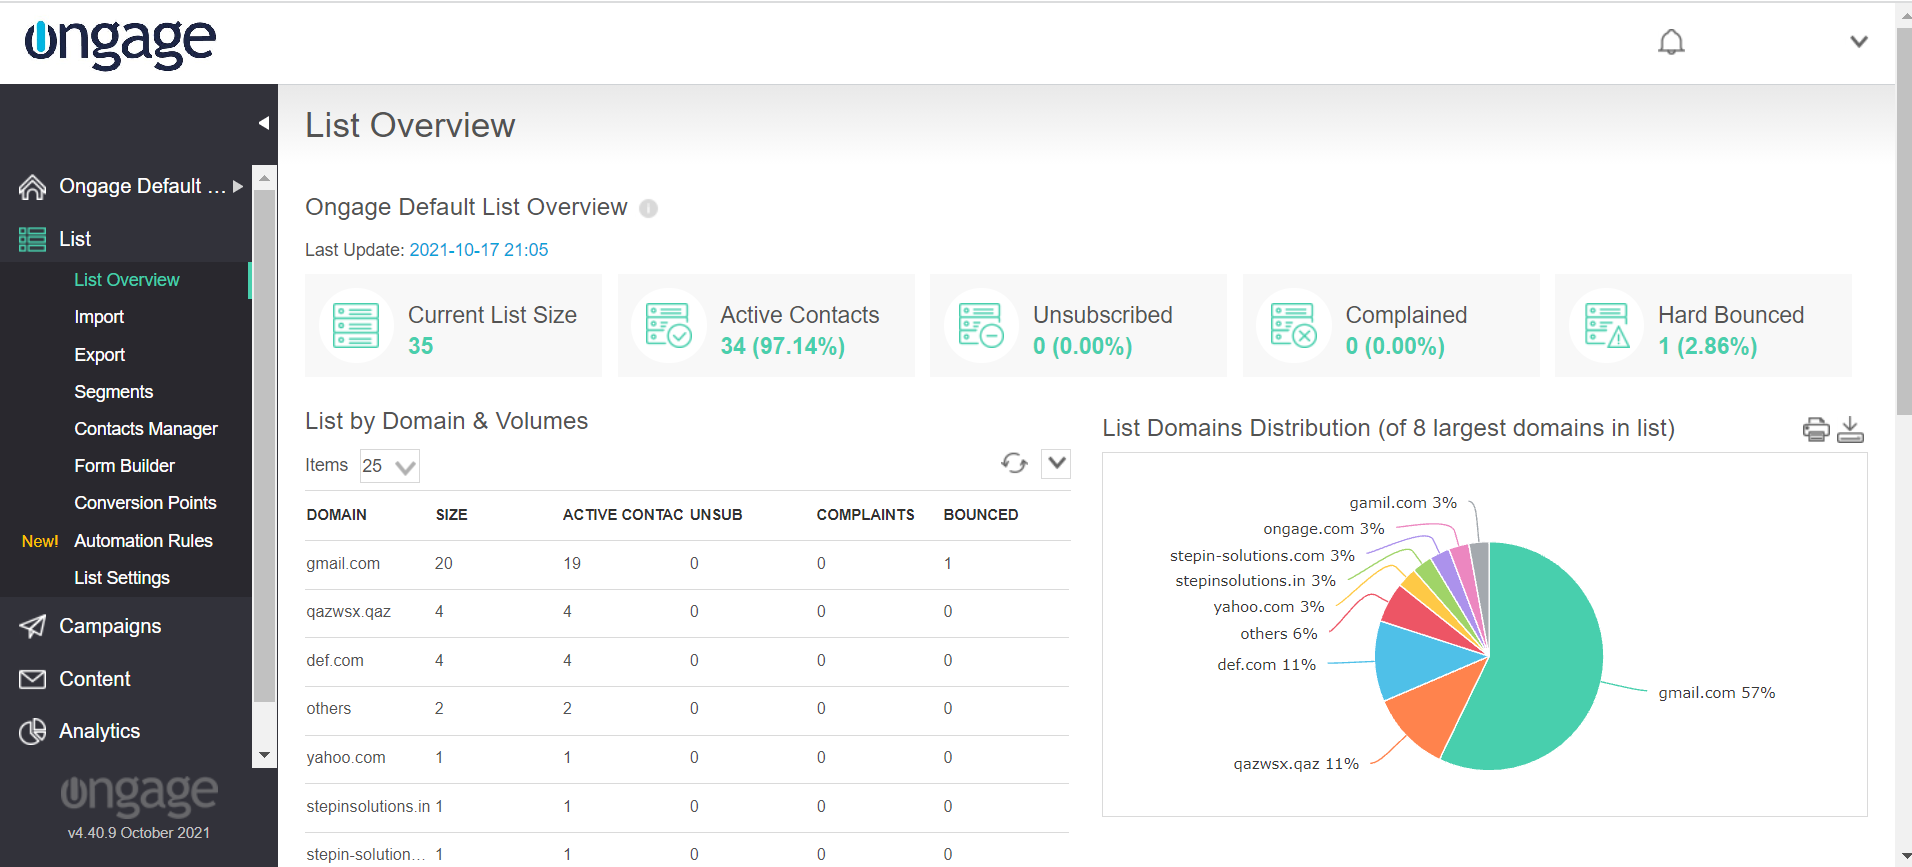
The List → List Overview: provides you with an overview of your Ongage List (aka contacts DB) as to overall size, number of active contacts (aka members, subscribers), unsubscribed, etc.
You might also want to check out the similar Post-Back Links feature in the following section. |
<a href="https://www.mywebsite.com?ocxf_confirm=Yes">Click here to confirm</a> |
<a href="https://www.my-travel.com?ocxfa_dest=NY;">Visit New York</a> <a href="https://www.my-travel.com?ocxfa_dest=FL;">Visit Florida</a> <a href="https://www.my-travel.com?ocxfa_dest=CA;">Visit California</a> <a href="https://www.my-travel.com?ocxfa_dest=WA;">Visit Washington</a> |
You might also want to check out a similar feature 'Update List Field Based on Click' in the previous section |
|
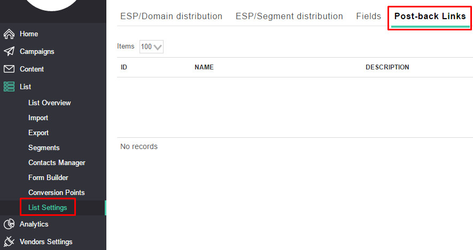

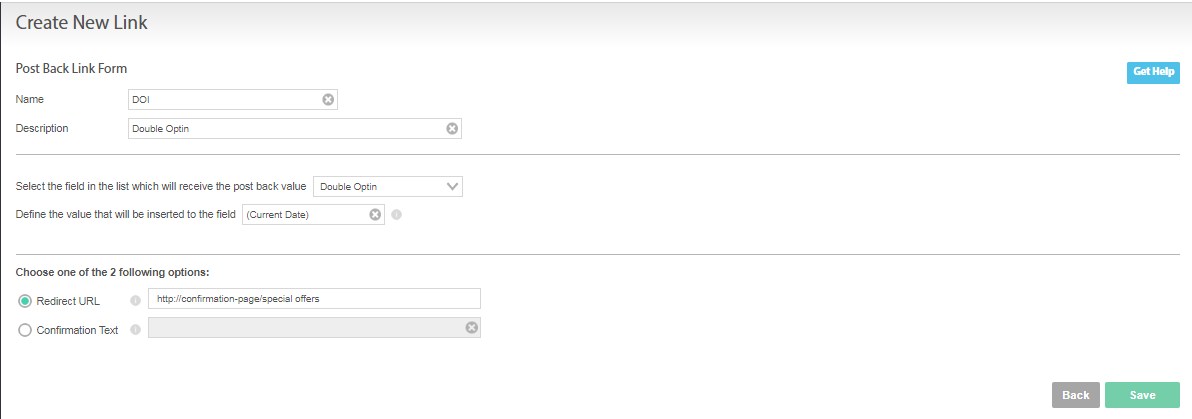
When your Post Back Link is ready you can insert it into your email newsletter in the following manner
Create your email content in the WYSIWYG editor:
1. Choose the text for your Post Back Link, for instance : 'Click here if you'd like to receive emails from us'
2. Select the text and click the 'Link' icon:

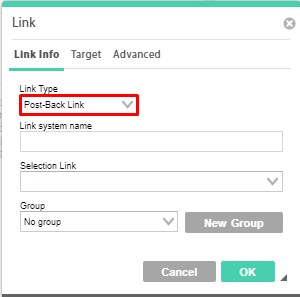
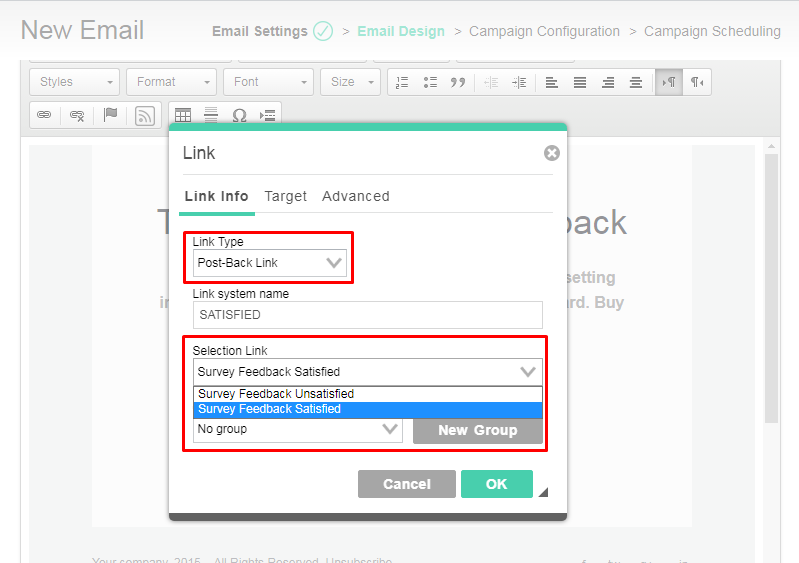
3. Choose the Link Type - 'Post-Back Link'
4. Select the name of the Post Back Link you created earlier
6. Send a test Campaign and check the value got updated in the relevant field.
Note: it might take a little while for the value to be updated.
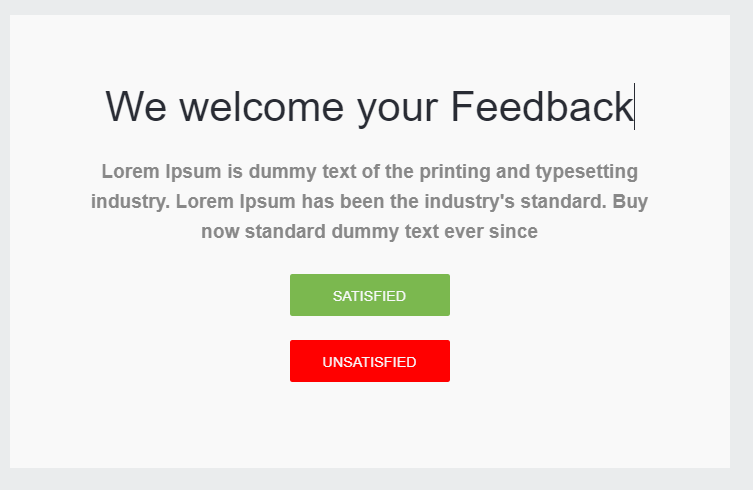
If you'd like to implement a basic survey / satisfaction feedback, in the body of an email, you can achieve this by using the Post-back link feature in the email message. For example, you can add two buttons: Satisfied and Unsatisfied, and create two separate Post-back links, once the recipient clicks on a button option, the associated value will be posted to the selected List field for that contact. To implement, please follow the steps below:
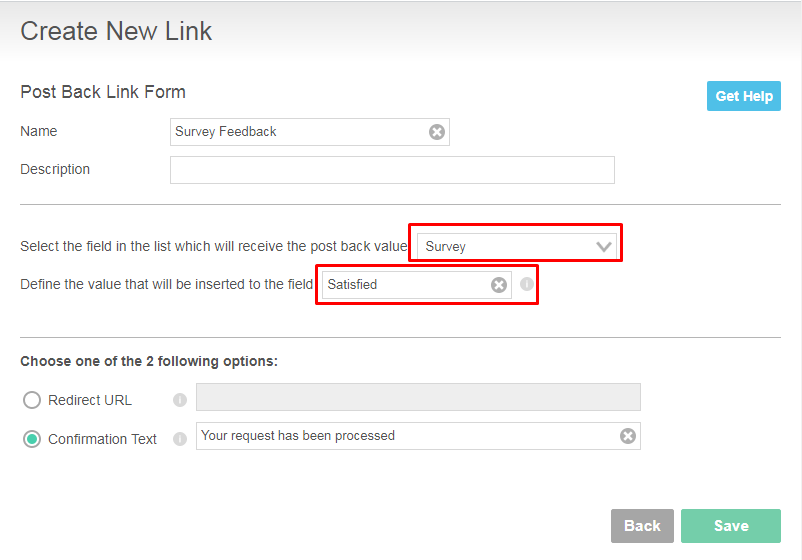
For more full-blown survey features, we recommend looking at any of the various Online survey services, including Google Forms, along with either our API or Zapier integration, to feed back relevant survey result data points back into Ongage List fields. |
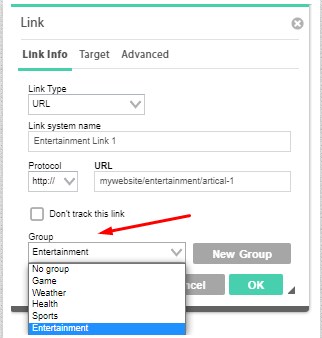
Link Groups are a way of getting aggregated statistics across a group of links, instead of just individuals ones. Let's illustrate this by example, let's say your email newsletter is schematically built as following:
Header & Intro

Entertainment News
    Entertainment Link 1
    Entertainment Link 2
    Entertainment Link 3

Sports News
    Sports Link 1
    Sports Link 2
    Sports Link 3

Weather News
    Weather Link 1
    Weather Link 2
    Weather Link 3

Footer |
You can create Link Groups for "Entertainment", "Sports" and "Weather", and then get aggregated stats on those groups, in order to determine for example, which group of topics gets the most clicks.
Link group stats can be used and measured across multiple campaigns. Meaning by using the same groups in many campaigns, you can get the overall click performance of those groups, over the course of many campaigns, month, months, year.

