Table of Contents:
Table of Contents minLevel 2
How to import contacts and their accompanying data-points into a list
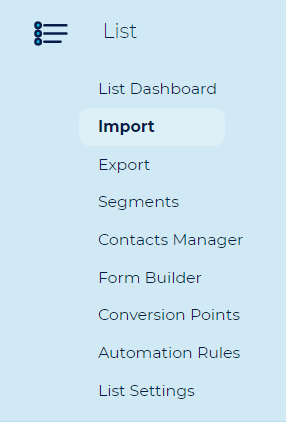
- Go To List → Import
- Click on the 'Add File' button to browse to the CSV file you want to import. We strongly recommend that you download a sample CSV file for your convenience as well as to prevent errors when importing it into the list.
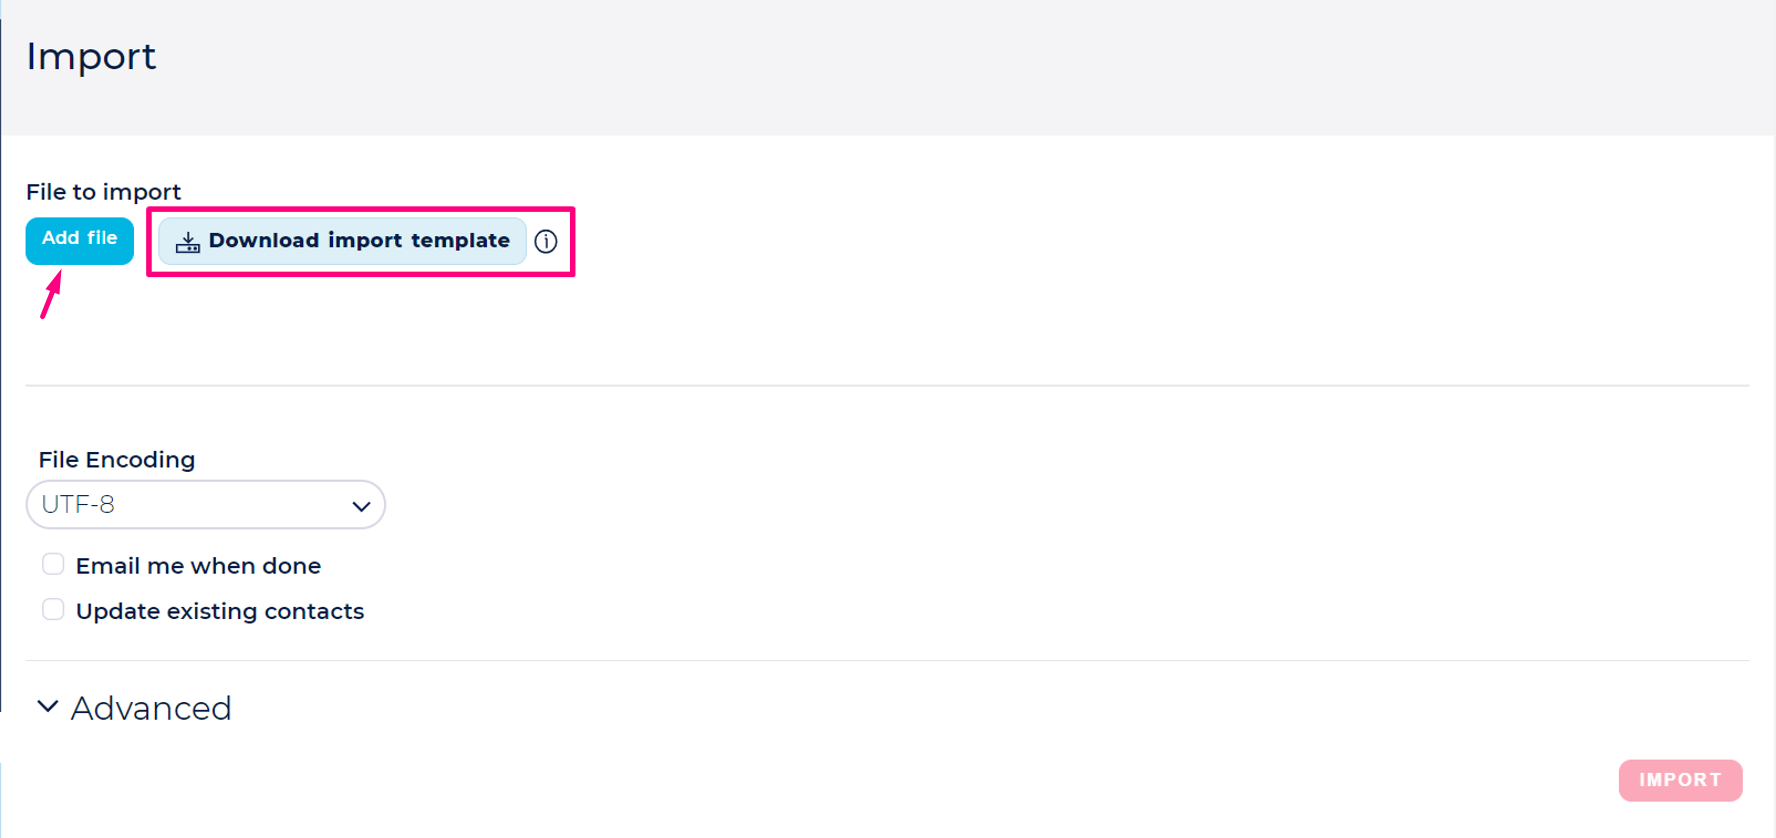
Note: if you choose the 'Email me when done' option, it will send an email message to the 'Notification Email' indicated in the Account Profile page. - The column headers of the CSV file you're using to import, MUST match the field names as they are in your List > Fields Setup:
What to watch out for when importing
 The import file must contain at least one column containing the email addresses.
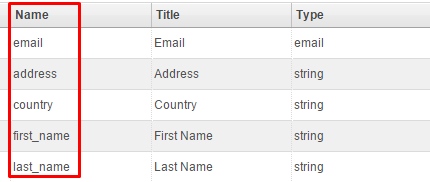
- The column headers of the file that you import MUST match the names of the fields exactly as they are in your List in Ongage.
- When uploading date fields, make sure the date format (e.g., dd-mm-yyyy) you're importing matches exactly the format you set for that field, in the field setup (List > Fields Setup). Also note if you try to upload a date and time-stamp to a field that only was set to accept a date without a time-stamp – you might have trouble with the date field getting properly populated.

How long do imports take
- There is no definite answer to the question, as it depends on a variety of factors, from your internet connection, to the amount of data and fields that are being updated for each contact . Having said that, benchmark times for importing emails addresses alone is around 470K contacts / per hour. With a good internet connection, and an import done outside of peak hours, one can experience speeds, twice as fast as that, i.e., nearly 1M per hour.
- You may track the progress of the file upload from within the List→Import screen. When the Status changes to 'Completed' indicates that the import of the entire file has completed.
...
- You can take advantage of of Ongage's parallel processing and decrease import times dramatically by splitting large files (starting from 250K-500K records and up) into smaller files and importing them in parallel. Here are some average benchmark results for parallel imports (times may fluctuate):
- 1 import file ~ 470K per hour.
- 2 import files in parallel can import ~ 940K per hour.
- 3 import files in parallel can import ~ 1.4M per hour.
- 5 import files in parallel can import ~ 2M per hour.
- 10 import files in parallel can import ~ 4M per hour.
- 20 import files in parallel can import ~ 8M per hour.
What is the Max Size of an Import File
- The current default max size of an import file is 500 MB. Depending on how much data might be in each column row, the max number of rows will vary. That max size can be increased to 1GB depending on the pack size and in coordination with your account manager.
How to use the "download CSV sample file"
- To eliminate errors, it is highly recommended that you first download the CSV sample file. You may find the link to that file from within the 'Import Data' interface. The sample file will include all the Dynamic Fields you have defined to this point as headers. Make sure to update the file with your content, while matching the actual content to the file headers
What are the different types of import failures: duplicate, existing, incomplete, invalid
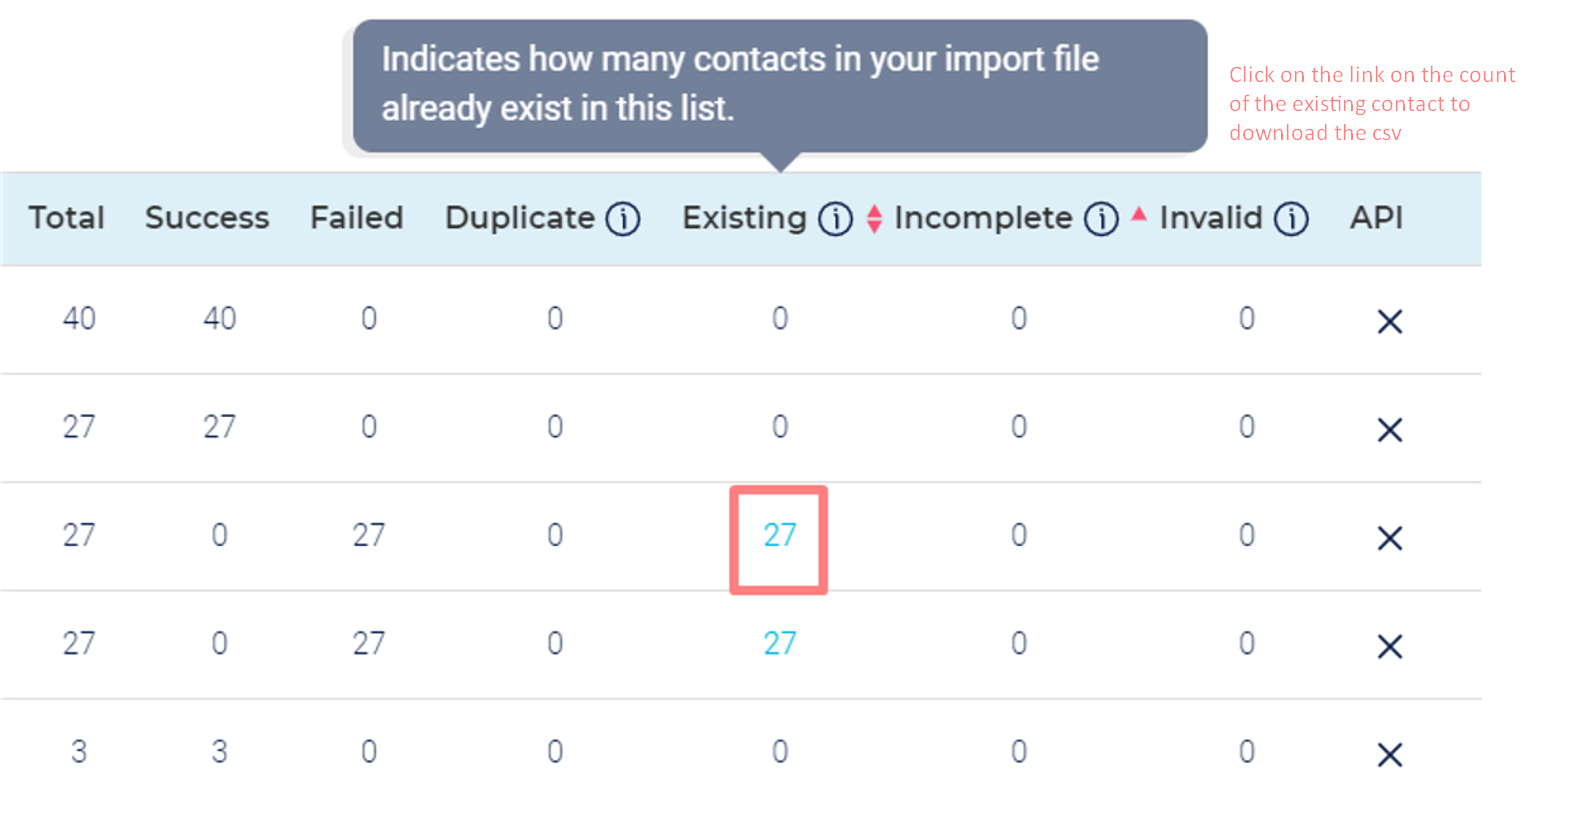
In general: Total = Success + Failed.
...
If you hover with your mouse over the question mark of each failed type column you'll get the meaning for that fail type.
How do I update existing contacts in a List
If you'd like to update the value(s) of a 1 or more fields for a given set of existing list members, do the following steps:
- Import a CSV file of the members you'd like to update, and check the 'Update existing contacts' option (see following section for detailed explanation about overwrite).

If for example your list contains 10 fields, but you only want to update the values of one of those fields, let's say for example 'city'. Simply create a CSV file with 2 columns, one with email in column 1 and the other with 'city' in column 2, as in the following illustration:
mail city whatever@something.com New Orleans whomever@somethingelse.com Tampa Bay
Overwrite existing contacts aka update existing contacts
| Info |
|---|
Typically "Overwrite existing contacts" is used to update field values for existing contacts in the list. It will also add new members to the list, for all contacts in the CVS that don't yet exist in the list. |
...
| Warning |
|---|
|
Do not overwrite with null values - what does it mean
- When this option is selected, which is the default, and if there are null/empty values in the CSV you are importing, then those null/empty values from the file will not overwrite any existing data in your list, and thus will not null out existing data
Import ID
Intro
![]() Every contact that you bulk import using a CVS file (or via the API import command) has an Import ID associated with it. You can then use this ID for segmenting all the contacts in that import. See the following section for more details.
Every contact that you bulk import using a CVS file (or via the API import command) has an Import ID associated with it. You can then use this ID for segmenting all the contacts in that import. See the following section for more details.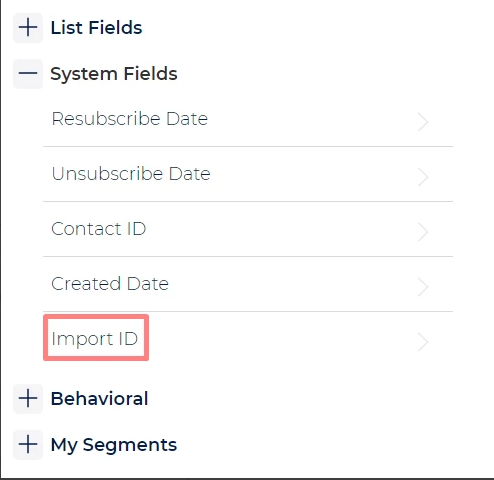
...
![]() To be noted: many accounts pre-dating 2019 were also converted to the new method that retains the last 10 import IDs, if it was found that the account had no segments using the Last Import ID. If you'd like your account to be switched to the new method, please contact Ongage Support.
To be noted: many accounts pre-dating 2019 were also converted to the new method that retains the last 10 import IDs, if it was found that the account had no segments using the Last Import ID. If you'd like your account to be switched to the new method, please contact Ongage Support.
How do I update a single contact
Choose any one of the following 3 options:
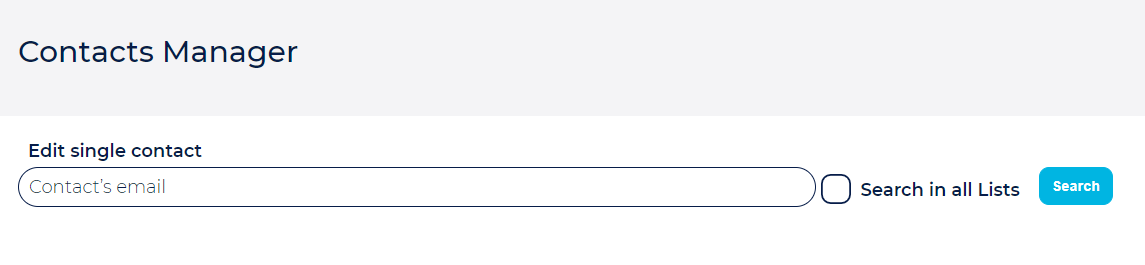
- Go to List → Contact Manager, enter an email address, and click the 'Search' button, and it will open the Edit Contact Pop-up for that email address.
- Import a CSV file with the contact you'd like to update, and check the 'Overwrite existing contacts' option
- Go to List → Contact Manager. Under the Search Tab,
- Perform a search (of a desired segment or campaign for example).
- Once the report is ready, in the 'View Report', will appear a row for each contact that came back in that search.
- Under the 'Actions' column is an 'Edit 'Contact' icon, click on it to get to the Edit Contact Pop-up for that email address.
What is the "Set Default Values" checkbox used for
- The 'Set Default Values' button is used to set a default value for a given field when doing an import. When you click the checkbox, a list with all of your dynamic List fields will appear. Check the field(s) you would like to assign a default value for and enter the default value(s). When you import the CSV file, the platform will use the default value you defined here wherever there is no value in the file for that field.

How to Abort an Import
![]() Note: Abort import option is yet not available for the imports done from changing status under Contact manager.
Note: Abort import option is yet not available for the imports done from changing status under Contact manager.
![]() Note: Imports can be aborted only if their status is one of the following :
Note: Imports can be aborted only if their status is one of the following :
...
- Go to List > Import and click on the “Abort” icon visible under Actions.

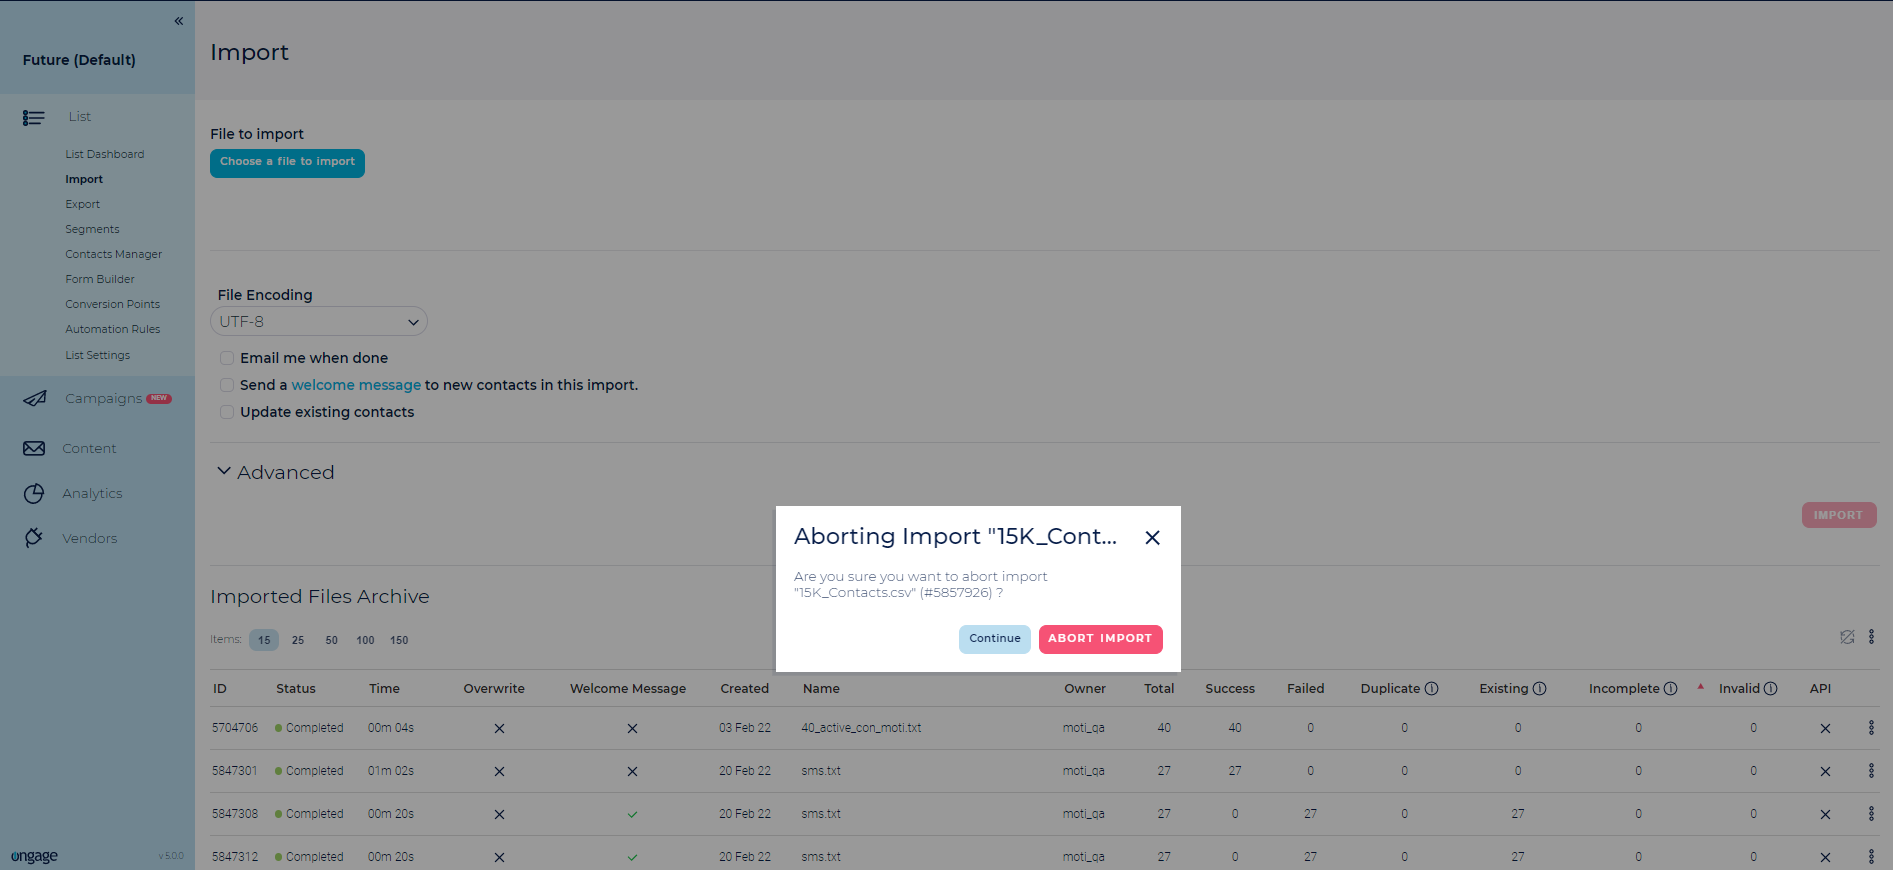
- Once the import is aborted, the status of the import file changes to aborted as displayed in the screenshot below.

![]() The abort will stop importing more contacts. But the contacts which were imported already before the Status was changed to “aborted” will still remain imported in List. In order to Safely remove contacts which are imported before the Abort function is completed, please refer to the “How to safely remove contacts added through a mistaken import?” section below.
The abort will stop importing more contacts. But the contacts which were imported already before the Status was changed to “aborted” will still remain imported in List. In order to Safely remove contacts which are imported before the Abort function is completed, please refer to the “How to safely remove contacts added through a mistaken import?” section below.
How to safely remove contacts added through a mistaken import?
When you want to remove contacts which were wrongly imported through CSV upload, there is a risk involved of losing your existing contacts which were already added in the list prior to wrong import initiated. In order to safely remove the newly imported contacts and keep existing contacts, you can follow the steps given below.
- You can Export the CSV file of the existing contacts by clicking the Hyperlink provided on the Count in the “Existing” column.
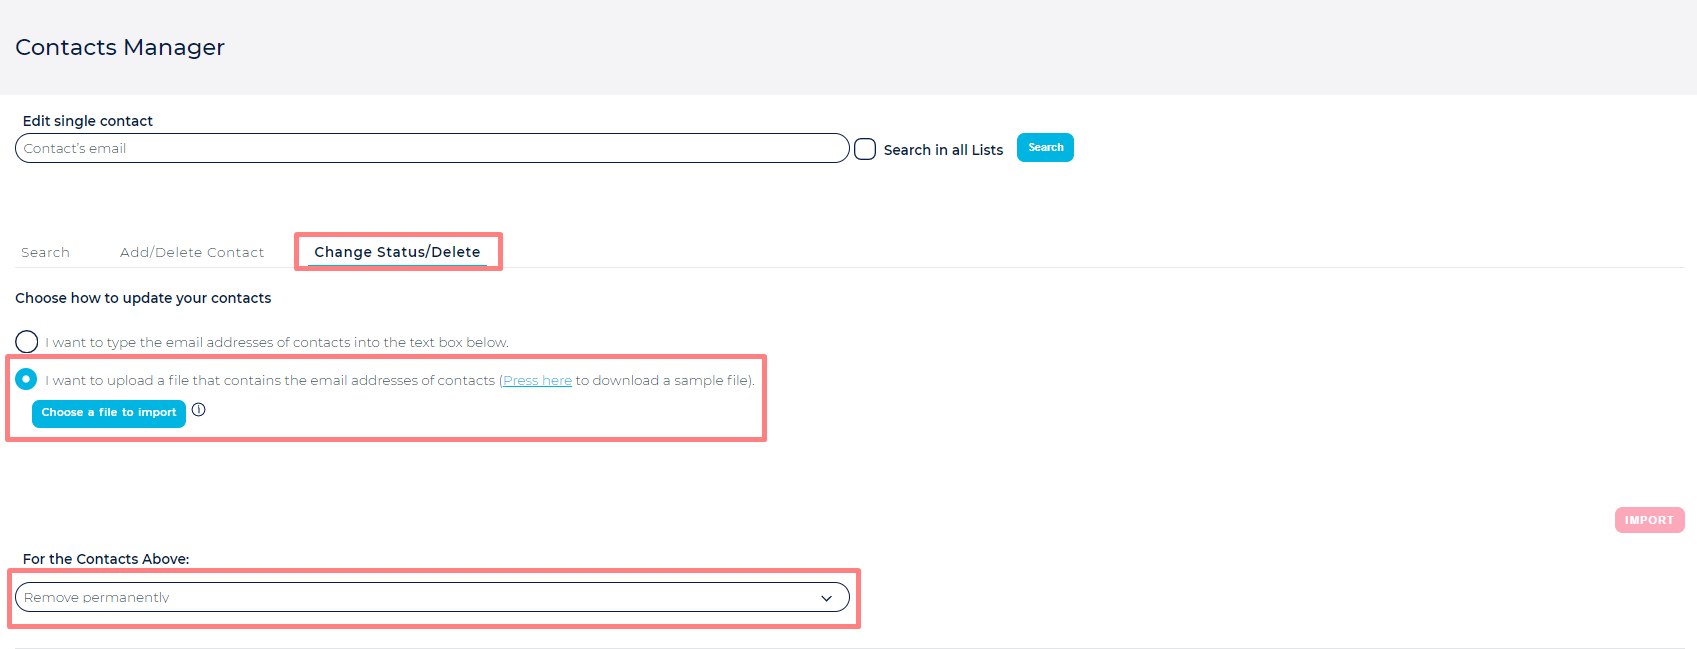
- Use the same CSV which was imported wrongly and delete those contacts by going to Contact Manager Change/Delete status > Import CSV > Remove Permanently.
- Now, import the CSV file of existing contacts which was downloaded in the first step.
- Note: While following the above steps, the analytics associated with existing contacts will be removed and those will be added back as new contacts.