Table of Contents
| Table of Contents | ||
|---|---|---|
|
Intro
The Fields Setup screen is where you can setup all your custom fields (aka data points) you'd like to associate with each contact in a given List. For example, First Name, Last Name, Gender, City, State, etc.
- The Ongage system comes with one mandatory field "email" and several sample custom fields. .
- Out-of-the-box, your Ongage, account contains several additional list fields besides the email, provided as a sample, which you can choose to keep or remove based on your needs.
- The only field that cannot be removed or renamed is the "email" field.
- The max number of list fields allowed in your account is dependent , depends on the Ongage package you purchased (see our pricing page for details). Speak to your account manager if you need more list fields.
How to add a field to a list
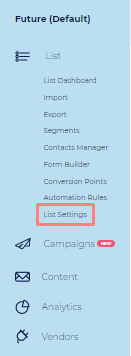
- On the main menu bar under the List menu item click on List Settings:
- Select the Fields Setup tab:

- Click Create New Field button to start creating a new field.
- Enter Field Name and Title
Select the type of field you'd like to add (i.e., String, Email, Date, Numeric, see more information about this in the following section).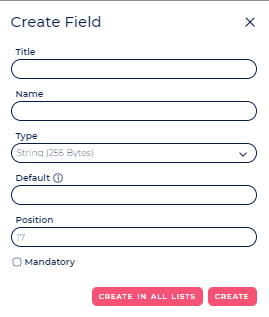
Note: You can determine if that field should be mandatory or not when adding a contact to this list. As noted above, by default, only the email field is mandatory, and for most use-cases there's no need to add additional mandatory fields, though each business can set this according to their own requirements. - Click Create to complete.
Note: If you want to add this field to all the lists, use the Create in all lists button.
What are the different field types
There are currently 4 different types of fields available in Ongage:
...
| Info |
|---|
See our List FAQ for recommendations on which field type should you use for ZIP codes, Phone Numbers, etc. |
What is the max size of a string field
In Ongage there are 3 types of String fields:
...