Table of Contents:
Table of Contents minLevel 2
List Settings General
| Info |
|---|
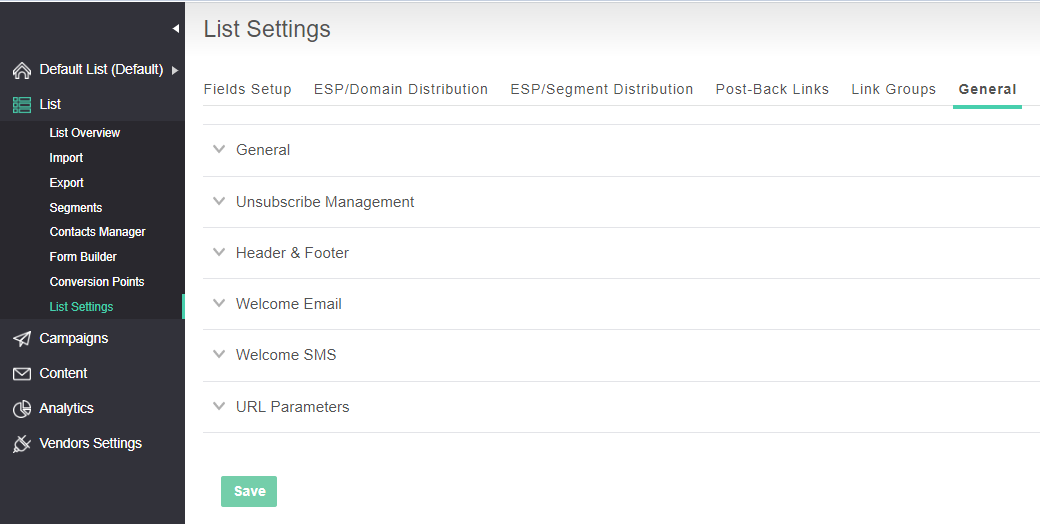
The List → List Settings → General tab: is a page to manage general default settings for this List. |
How to setup URL parameters
This feature can be used for Google Analytics URL utm parameters as well as any other website traffic tracking technology that uses URL parameters.
Go to List >> List Settings >> General >> URL Parameters.
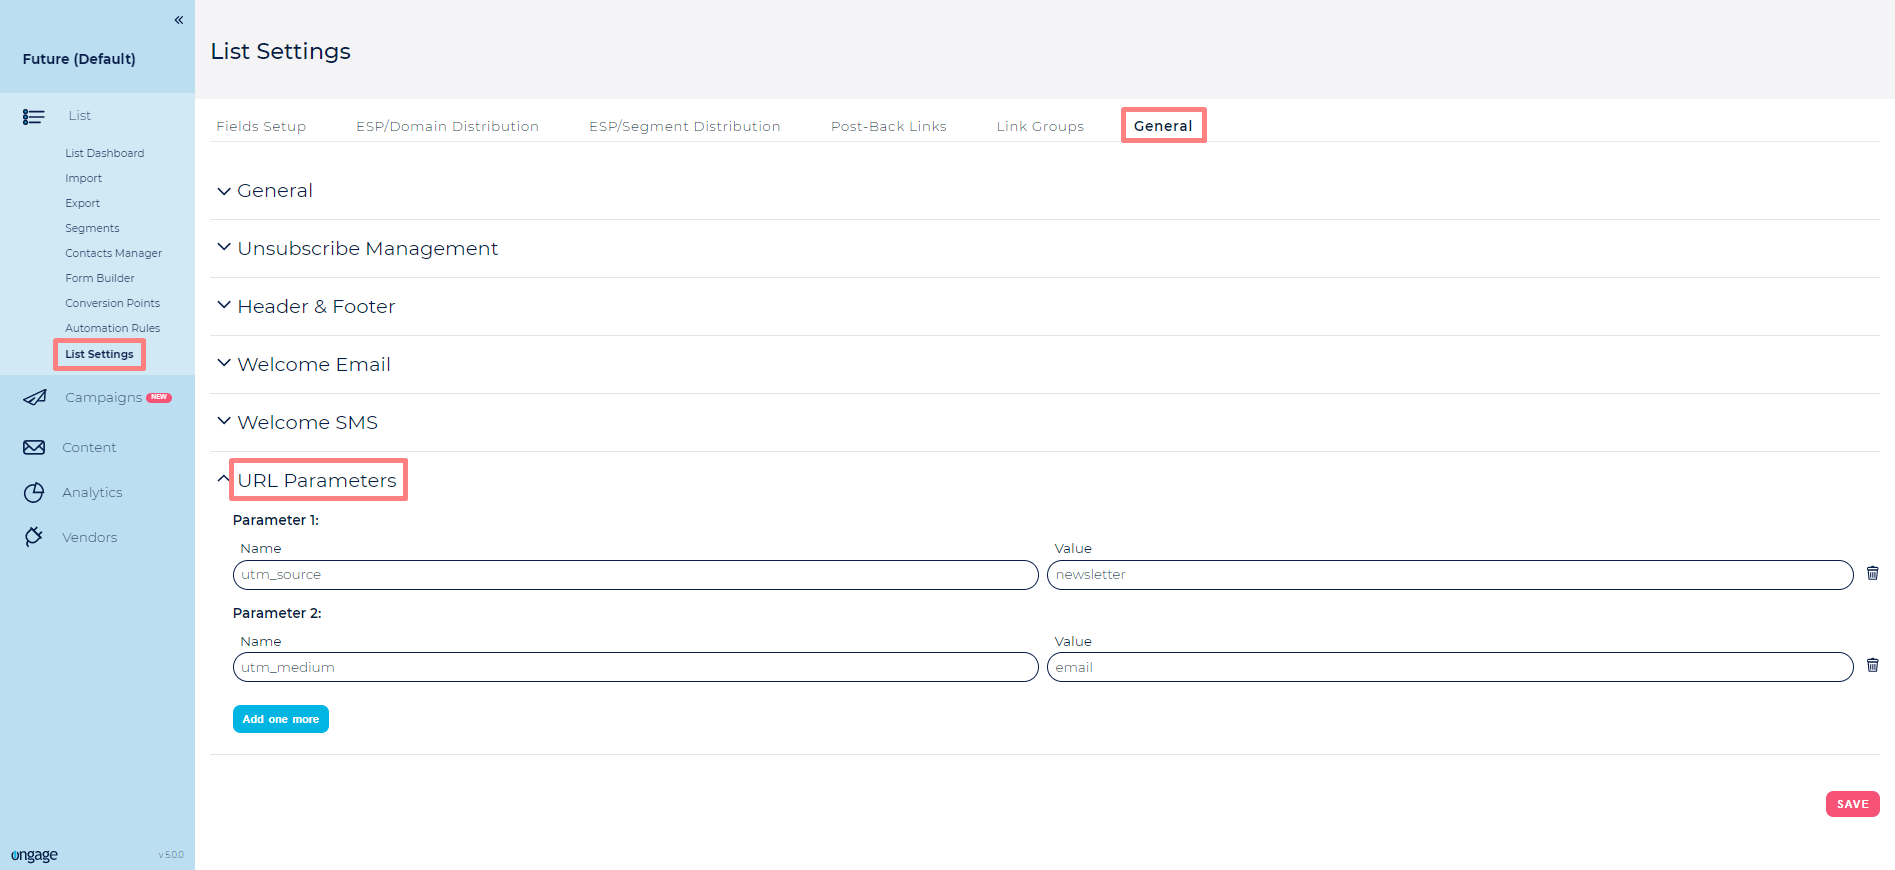
- Under the "URL parameters", type in the name of the parameter and value.
- Click on + 'Add another URL parameter', for any and all additional parameters you'd like to add.
- Note: In the value you can use Ongage dynamic list fields (e.g., {{lead_source_id}}), and/or dynamic system fields (e.g., {{ocx_campaign_name}}).
Once set, those parameters will automatically be appended to the end of all links in all the email messages in the list. So if the links in your email messages are www.mysite.com, the above example will change those links to be: www.mysite.com?utm_source=newsletter&utm_medium=email
| Info |
|---|
You can also set default values for these parameters under Content→ Email Message → Email Settings. |
How to Setup a List Welcome Email Message
![]() Ongage provides this feature so you can send a transactional welcome email to each and every new contact that joins the List (without any need to code a transactional API message).
Ongage provides this feature so you can send a transactional welcome email to each and every new contact that joins the List (without any need to code a transactional API message).
By setting this up, every new contact that is added to this List, will receive the welcome email message you select in the setup below:
- Go to List → List Settings → General Tab (see screenshot above).
- Open the 'Welcome Email' panel:
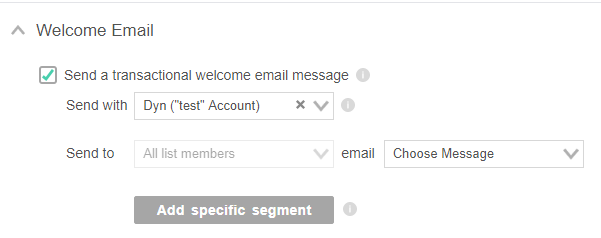
- Check "Send transactional welcome email message" checkbox to activate this feature.
- Select which SMTP vendor connection to use for sending this transactional welcome email.
- Select the email message you would like to send, from your Content → Email Message library, to all new contacts that join (get added) to this list.
| Warning |
|---|
Note:
|
| Info |
|---|
If you'd like to send several follow-up email messages, after this transactional welcome email, see Campaigns → Events & Triggers to set up sending a sequence of follow-up on-boarding messages on: 1 day, 2 days, etc. after new contacts joined this list, by using the Ongage system create date, as the base for that Event. |
How to Setup Different Welcome Email Messages for Different Segments
The segmented welcome email feature enables marketers to send different welcome messages to different on-boarding contacts, based on data-point values in their list fields.
For example:
- Send different welcome messages to contacts from different States or regions.
- Send different welcome messages based on different interests, e.g., 'Sports' vs. 'Travel'.
To setup this up:
- Go to List → List Settings → General Tab (see screenshot at the beginning of this section).
- Open the Welcome Email panel:
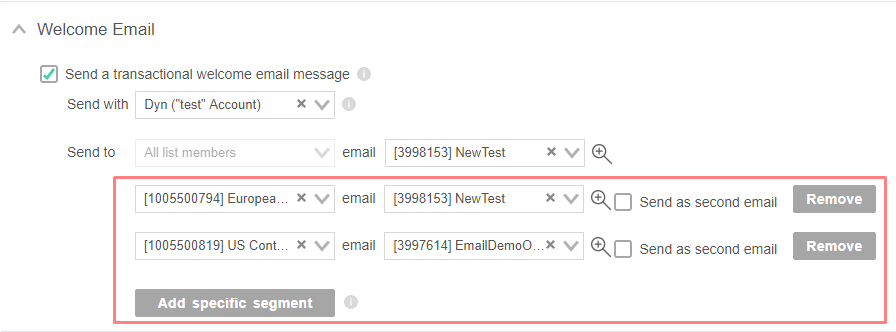
- Click on the Add specific segment button.
- Choose a different email message to send to the selected segment.
- Additionally you have the following options:
- Check Send as second email to send this segment an additional message on top of the default welcome email.
- When unchecked (which is the default setting), the selected segment will receive only the segment designated message instead of the default welcome email.
...