Table of Contents:
Table of Contents minLevel 2

Contacts Manager Search
Introduction: What is the Contacts Manager Search
| Info |
|---|
The Contacts Manager is a place where you can search for contacts in your Ongage List database and see all the list field values (aka data points) associated with a given set of contacts. |
...
How to Generate a Contacts Manager Search Report
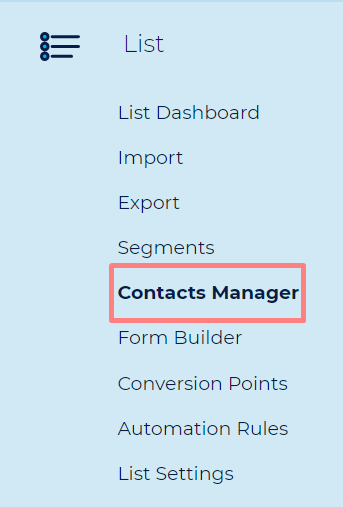
- Start by going to List >> Contacts Manager and click on the Search Contact button.
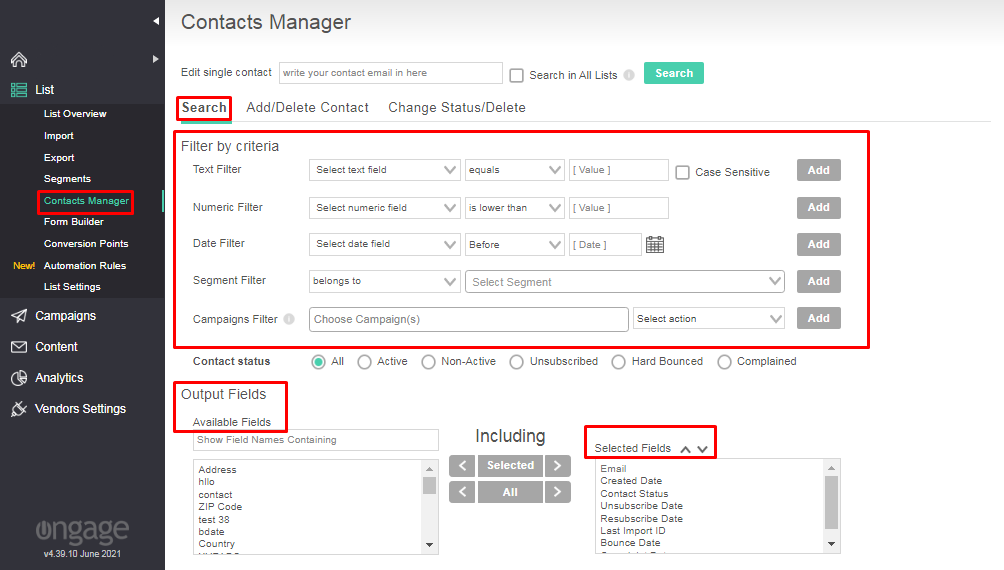
- You can search contacts by applying the various filters available.
- When generating a Search report, you can select the list fields you'd like to see included in the Search report.
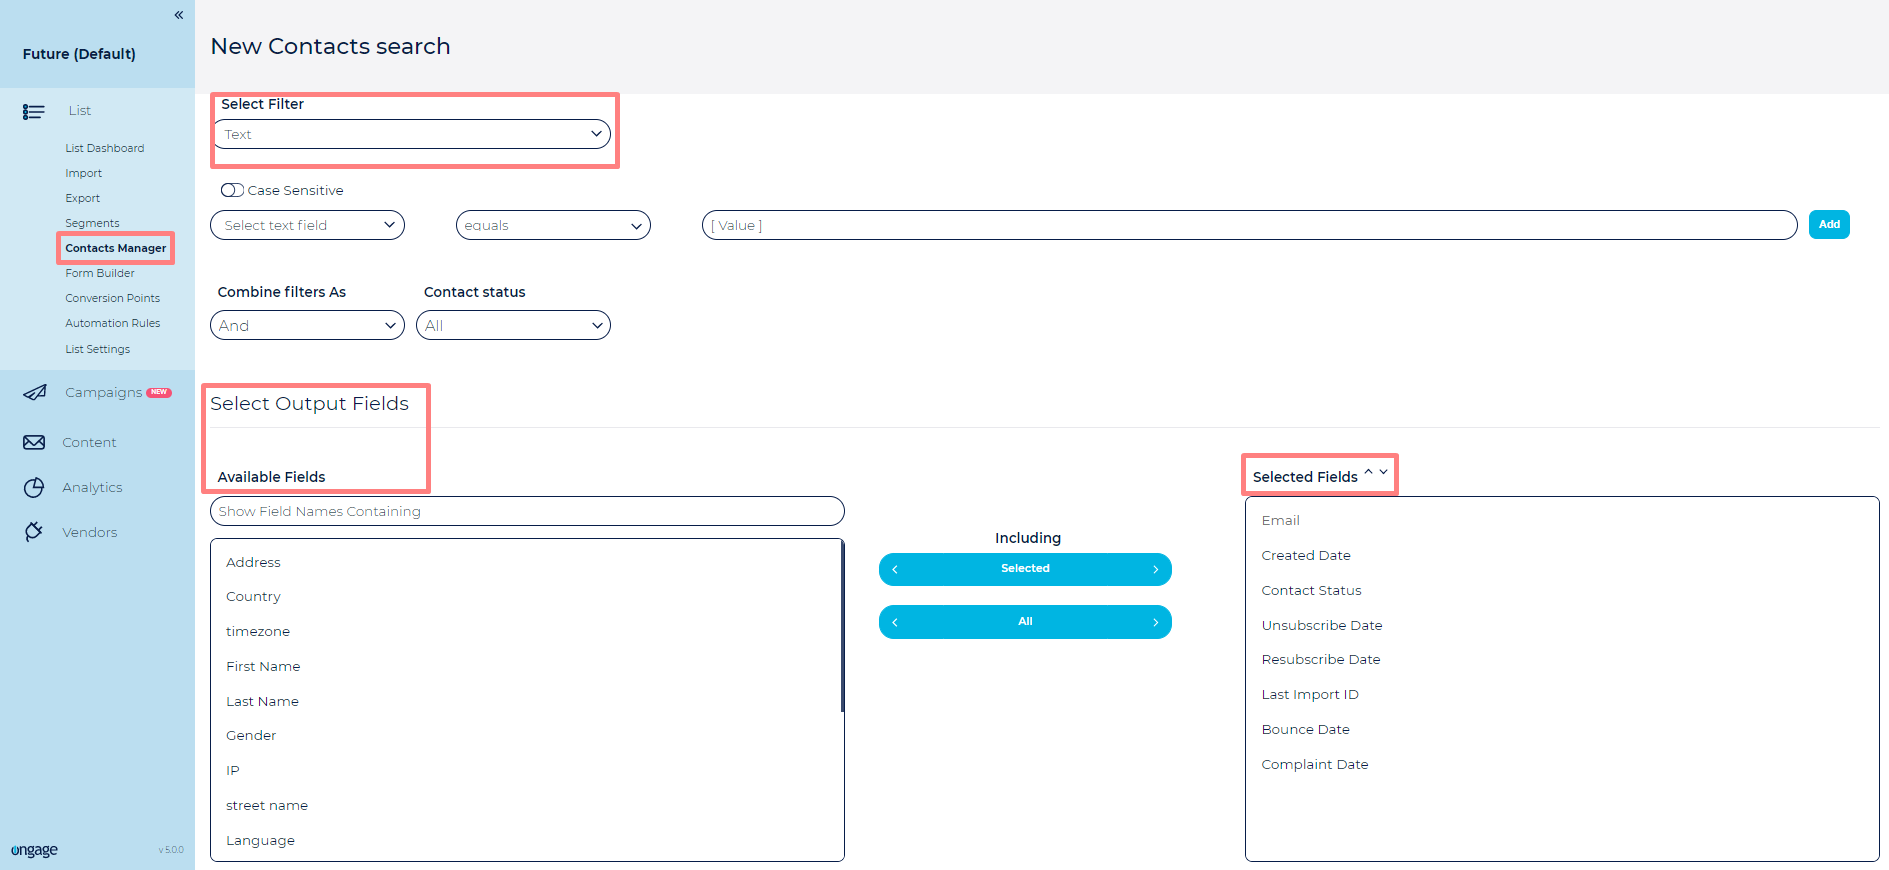
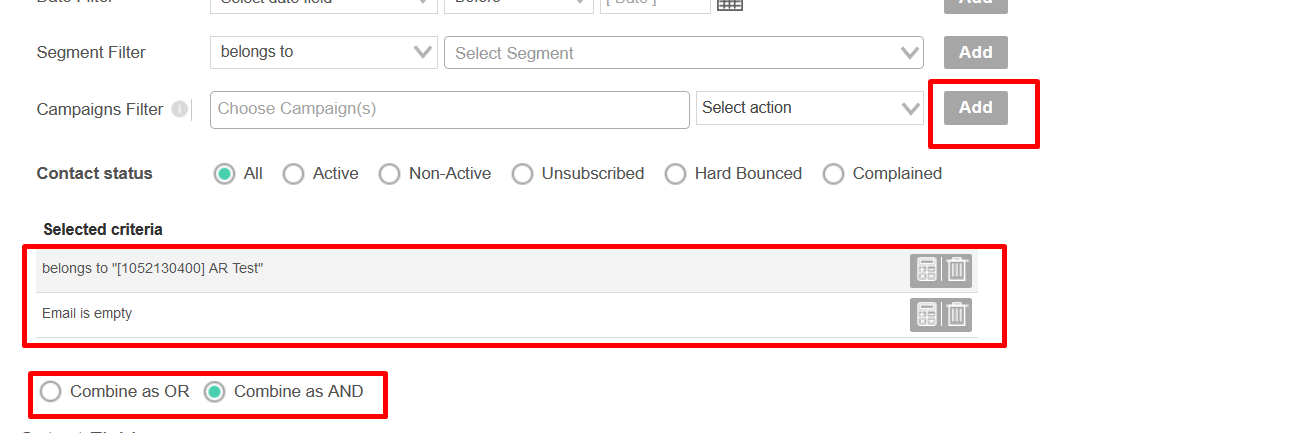
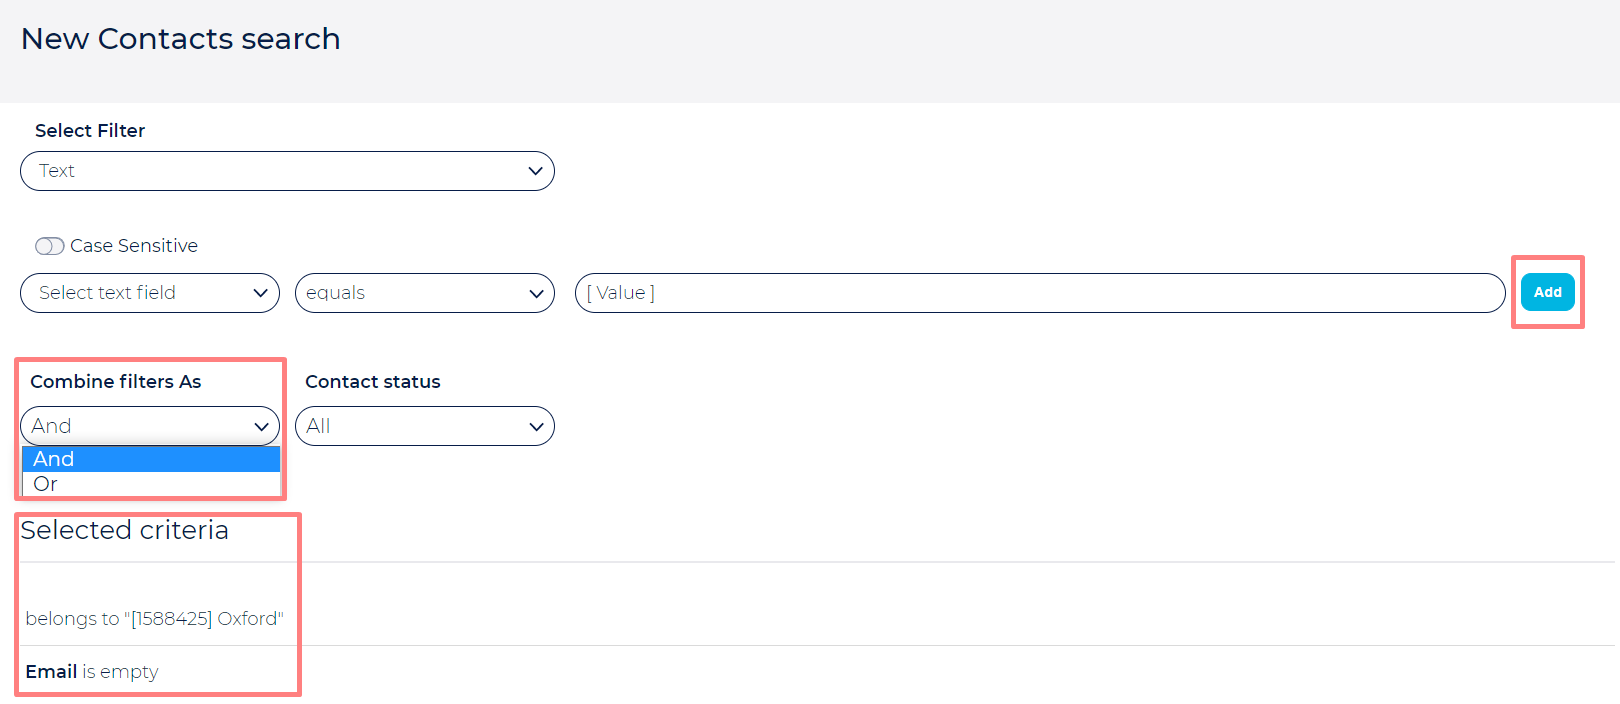
- You can use multiple criteria to generate a search report with AND or OR condition.
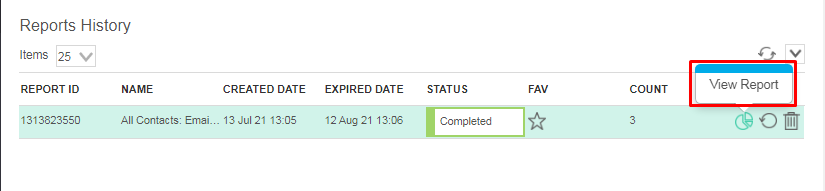
- Once the Search report is generated, you can view the report by clicking on the “View Report” icon from Report History table.

Example: Search All Contacts Belonging to a Segment
![]() This is a very common search, that marketers will use to see which contacts belong to a given segment, and all the values associated with them. So for example, if you're storing their subscription date in a list field, and you're using it as a dynamic value in your messages, this report would be a way to sanity check that all contacts in this segment have that value.
This is a very common search, that marketers will use to see which contacts belong to a given segment, and all the values associated with them. So for example, if you're storing their subscription date in a list field, and you're using it as a dynamic value in your messages, this report would be a way to sanity check that all contacts in this segment have that value.
- From the Criteria options, Select the Segment from the drop down and click on the ADD button.


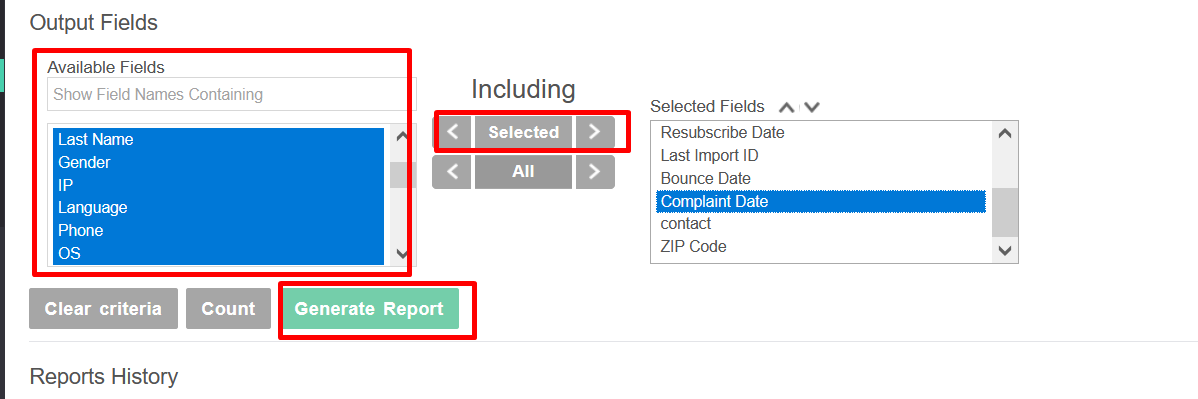
- Select the List fields from the Output Fields which you want to get in the Search report and click on “Generate Report”.
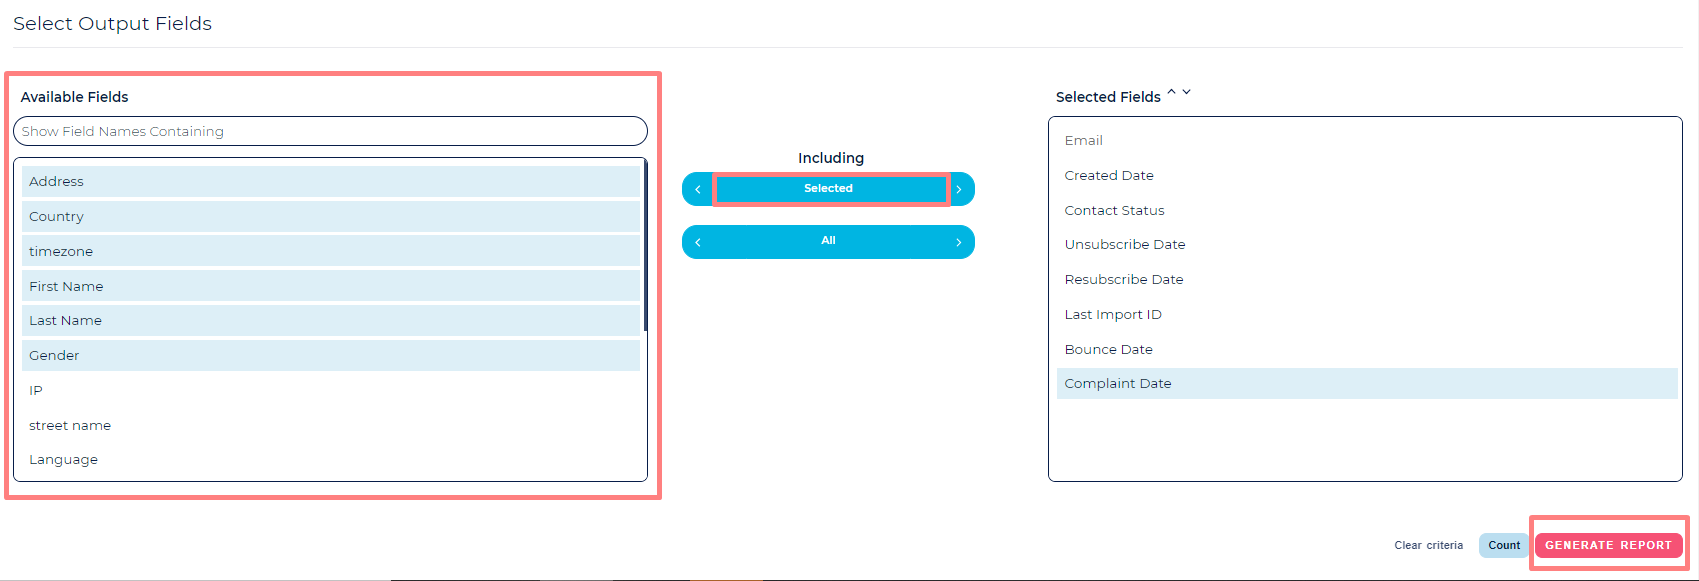
- The Search report generated will have all the contacts in the selected Segment with their respective field values.
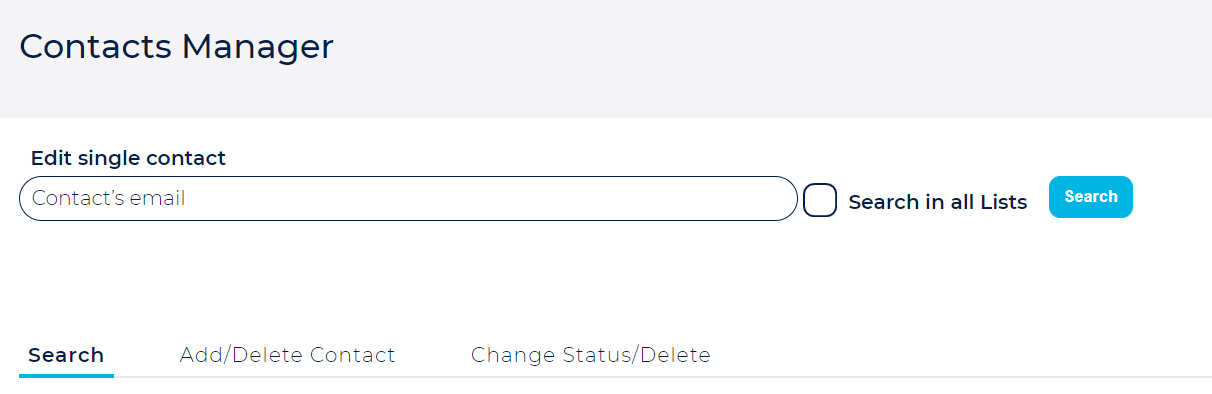
Search for a single contact
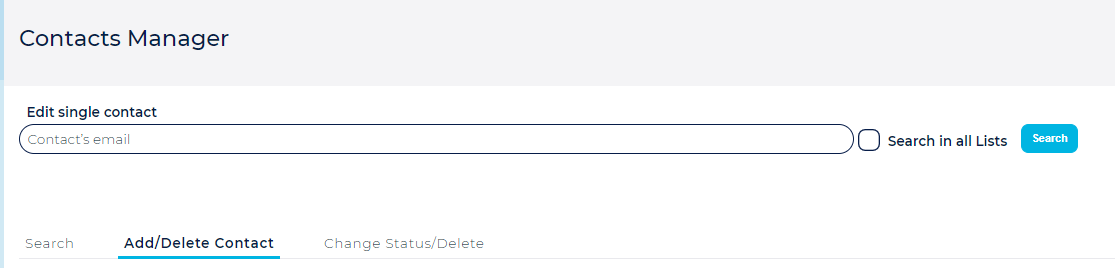
At the top of the List → Contact Manager, page, simply enter an email address, and click the 'Search' button.

![]() The "Search in All Lists" will search for the contact in all of your sending lists as well as suppression lists.
The "Search in All Lists" will search for the contact in all of your sending lists as well as suppression lists.
...
Add / Delete Contact
Here you can manually add a single contact and / or edit or delete any of the contacts you've manually added.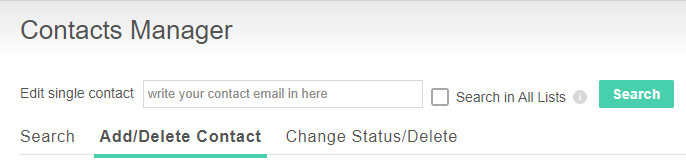
Change Status / Delete
Here you can change the status of a set of contacts and or delete a set of contacts.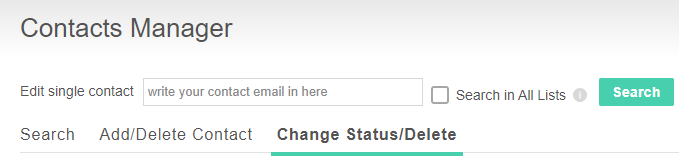

The Ongage Contact Status
| Info |
|---|
In Ongage a Contact has either an Active Status or 1 of the 3 Inactive statuses: Unsubscribed, Hard Bounced or Complained. |
 Important Note: Ongage automatically unsubscribes all contacts that clicked on an unsubscribe link sent in a message from Ongage, so there is not need to do this manually. Similarly regarding hard bounces and complaints, those too are handled automatically by Ongage!
 - These options are provided here, if you're collecting this information on your CRM, 3rd party, and/or other external sources outside of your email marketing operations in Ongage.
- In addition, you can also reactivate contacts from this page.
Change / Delete Contact Status
From this this tab you can change one or a set of contacts from one status to any other status.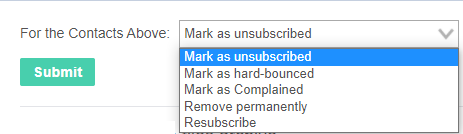

You can also Delete that set of contacts by choosing the 'Remove permanently' option, which provides for GDPR compliance.
...
You can either enter a list of email addresses (aka contacts) up to 100, directly into the input box, or upload a CSV file, with all the emails you want to update, which is preferred if you're dealing with a larger number of emails (i.e., more than 100).

About the Change Status Options
- Mark as unsubscribed: will mark all contacts you upload here as "unsubscribed". These contacts will become inactive and the platform will automatically stop sending to them.
- Mark as hard-bounced: will set the status of all contacts you upload here to hard-bounced. These contacts will become inactive and the platform will automatically stop sending to them.
- Mark as complained: will set the status of all contacts you upload here to complained. These contacts will become inactive and the platform will automatically stop sending to them.
- Remove permanently: will completely and permanently remove contacts from this list, which also serves for GDPR compliance.
- Resubscribe (AKA reactivate): will resubscribe/reactivate contacts that are unsubscribed ,as well as reactivate contacts that are hard-bounced or complained.
 Note regarding reactivating hard-bounced: This will not not reactivate any hard bounces that also is registered on the outbound ESP or SMTP vendor itself.
Some ESP/SMTP vendors keep their own list of hard-bounces, but some SMTPs like Amazon SES and On-Premise don't.- Note about reactivating unsubscribes: If you're using Ongage with either a cloud SMTP vendor or on-premise SMTP, you can easily resubscribe unsubscribed contacts, as this information resides typically only in Ongage. On the other-hand if you're using Ongage with an ESP that enforces its own unsubscribe link, in that case the unsubscribe info also resides on the ESP, and you will need to resubscribe it there as well!
...